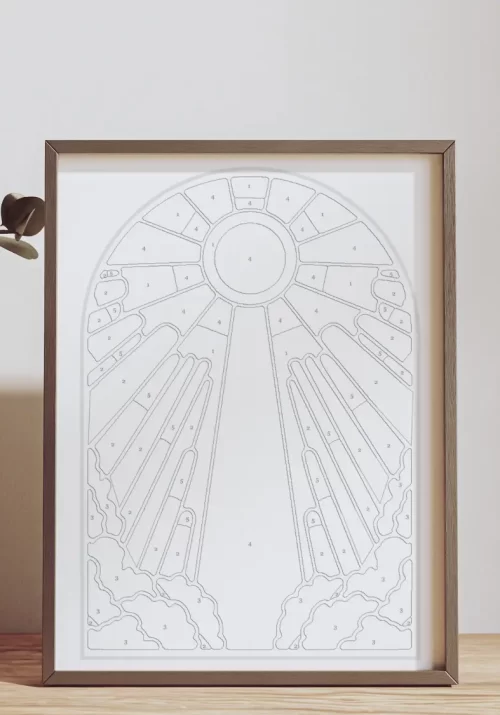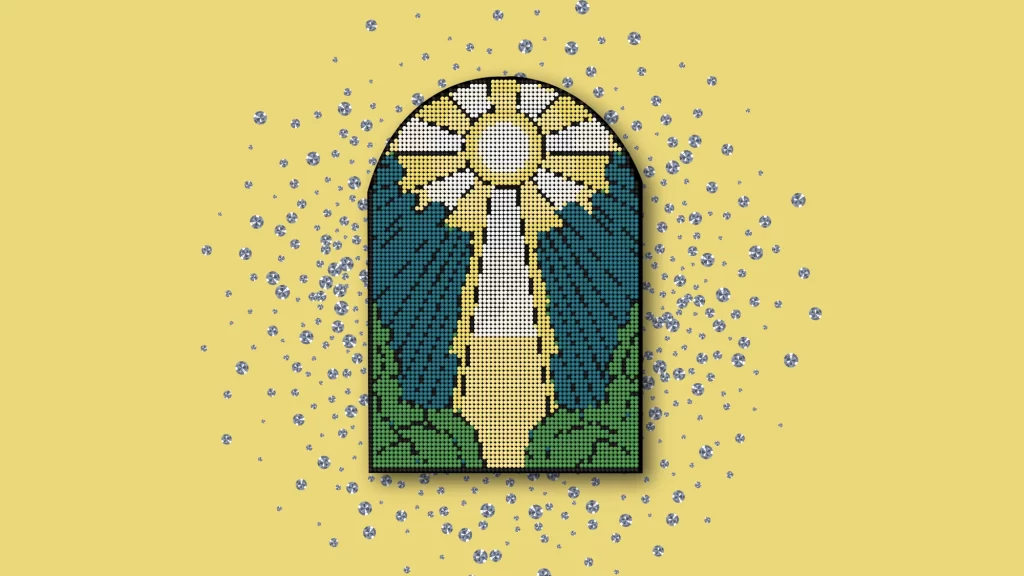
Looking for another craft to do with your youth that’s centered around the 2025 Youth Theme, “Look Unto Christ”? Check out this Diamond Art Activity!
What is Diamond Art?
Diamond art, also called diamond painting, is a craft similar to paint-by-numbers but uses tiny resin “diamonds” or rhinestones instead of paint. The process involves applying these diamonds to a pre-printed, adhesive canvas using a special tool, creating a sparkling, mosaic-like image.
How it works
Canvas: The design is printed on a sticky canvas with color-coded sections corresponding to specific diamond colors.
Diamonds (Drills): Small resin beads, often called “drills,” come in either square or round shapes.
Applicator Tool: A pen-like tool with wax or gel picks up the diamonds and places them onto the canvas.
Finished Look: Once all diamonds are applied, the result is a shimmering, textured artwork.
Diamond Painting on Card Stock
Sometimes getting all the supplies needed to make diamond painting work isn’t realistic with large amounts of youth and small budgets. Here are some tips and ideas to help you still make diamond painting work for your ward!
- Use thick Card Stock instead of a sticky canvas. This cost effective method will allow you to print the 2025 Youth Theme Art onto a card stock page, making it much cheaper than trying to print on canvases. If you’d like to reinforce the card stock:
- Mount it on foam board or cardboard to prevent bending.
- Laminate the card stock before applying adhesive for extra strength.
- Use glue or adhesive spray to make it sticky. This will help the rhinestones adhere to the paper.
- Double-sided adhesive sheets – The best option for even coverage. Cut to fit your design. (See above for ways to reinforce it)
- Mod Podge or craft glue – Apply a thin, even layer and let it get tacky before placing diamonds.
- Spray adhesive – Works well for large designs but may require a sealant after.
- Work in sections
- Apply glue or adhesive to small areas at a time so it doesn’t dry before you place the drills.
- If using glue, spread a very thin layer to avoid excess drying or warping.
- Round drills are easier to work with on cardstock since they don’t need perfect alignment. Square drills need exact placement
- Press Down Gently. Use a rolling pin or a flat object (like a book) to press down the diamonds and ensure they stick well. Avoid pressing too hard, as cardstock can bend.
- Seal the Design for Durability. Once finished, apply a thin layer of clear Mod Podge or spray sealant to keep the diamonds in place. If you want extra sparkle, use a glossy sealant instead of matte.
Other Artistic Methods for this Design
If you have a diamond painting design but want to explore other artistic methods, here are some creative alternatives:
1. Mosaic Art
- Tile Mosaics: Use small tiles, beads, or paper squares instead of diamonds.
- Paper Mosaics: Cut colored paper into small squares and glue them onto a canvas.
2. Cross-Stitch or Embroidery
- Convert the pattern into a cross-stitch or embroidery design by matching the colors to embroidery floss and stitching onto fabric.
- Works well with Aida cloth for a pixelated effect.
3. Pixel Art or Digital Art
- Use a digital drawing app (like Procreate, Photoshop, or Pixel Studio) to recreate the design as pixel art.
- Can be animated for a digital effect!
4. Paint-by-Numbers
- Print the design on a canvas or thick paper and use acrylic or watercolor paint instead of diamonds.
- You can blend colors for a softer, painted look.
5. Sticker or Vinyl Art
- Create sticker sheets using printable vinyl and apply them in place of diamonds.
- Works well for planners, scrapbooks, or decorating surfaces.
6. Quilting or Fabric Art
- Turn the design into a quilt pattern by matching fabric swatches to the colors.
- Sew small fabric squares together for a cozy, pixel-style quilt.
7. Perler Bead (Fuse Bead) Art
- Use Perler beads to recreate the diamond painting in a pixelated, melted bead format.
- Once ironed, it creates a durable piece of art.
8. Glass Stained Art
- Convert the design into a stained-glass pattern using real glass or colored acetate.
- Can be used for DIY sun-catchers!
Grab the Design
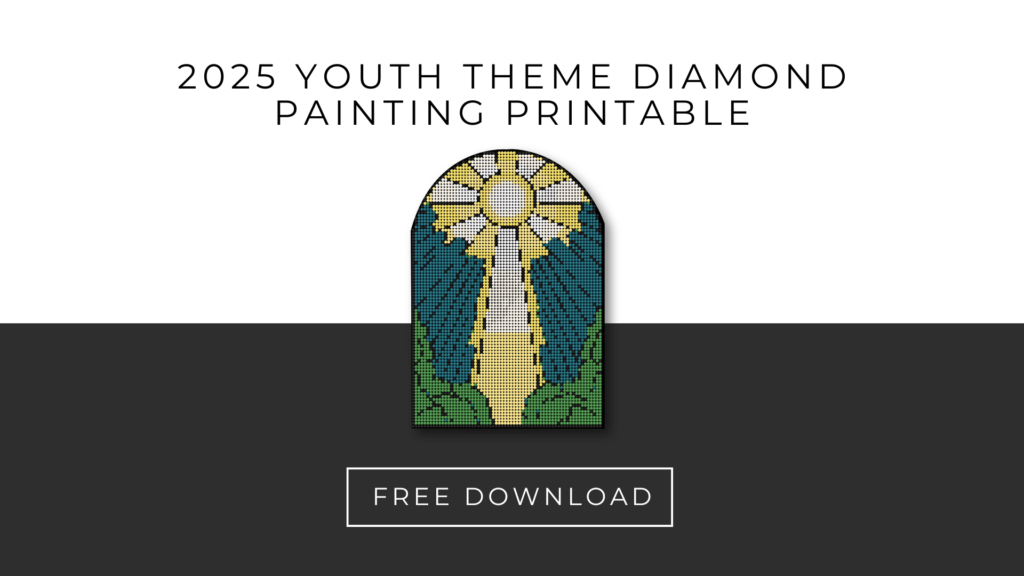
Download the 2025 Youth Theme Diamond Art Downloadable by clicking here: https://otherthanamom.myflodesk.com/2025diamondart
Commonly Asked Questions
- Where can I get the rhinestones?
- I’ve found the easiest and most convenient place to get rhinestones is right off of Amazon. It doesn’t matter where you get them, but shoot for round rhinestones rather than square.
- What color rhinestones do I need to get?
- Simple blue, yellow, green, black, and white colors will do the trick! No need to get too specific with color matching, they’ll turn out great regardless!
- What should I use to reinforce the card stock or paper I’ll be printing on?
- My favorite thing to use is chipboard due to its durability and how easy they are to cut. Check out this one from Amazon for inspiration!