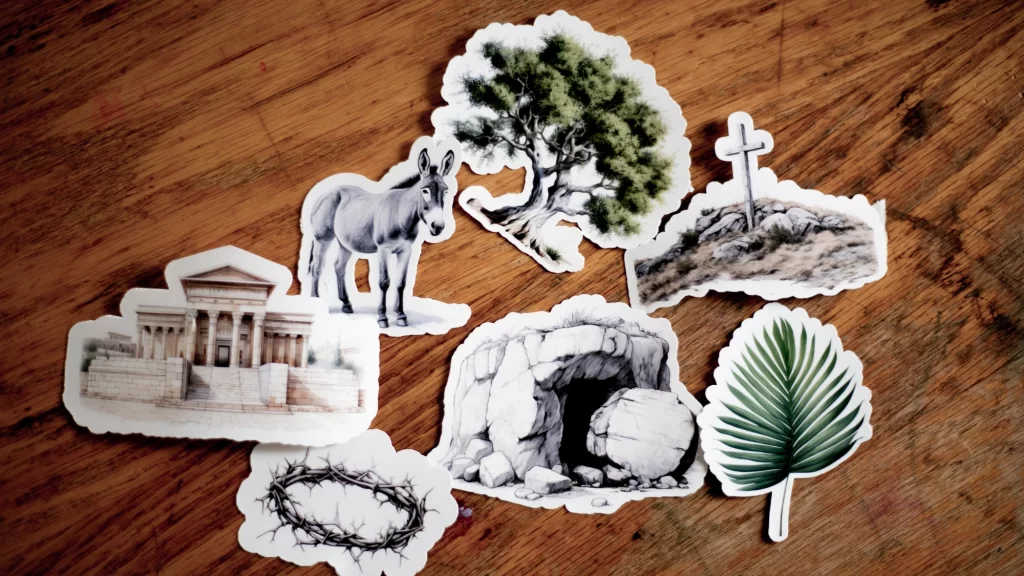
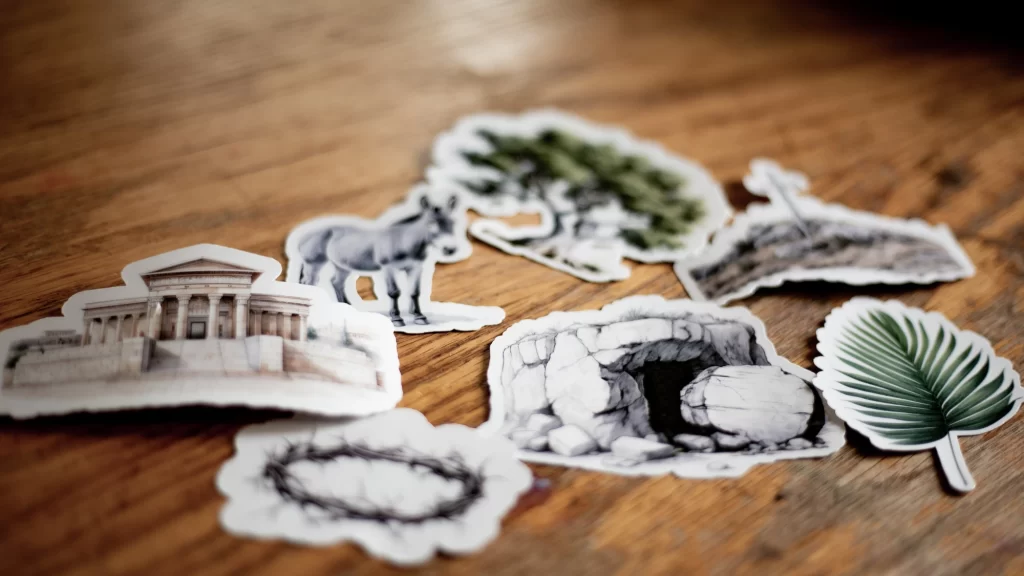
In this post, we’re going to show you exactly how to make beautiful, Easter themed stickers, straight from your inkjet printer! These are great for:
- Easter lessons or activities for your kids
- Easter gifts for your Primary Kids or Youth
- Ministering gifts
Let’s dive in!
1. Grab the free design
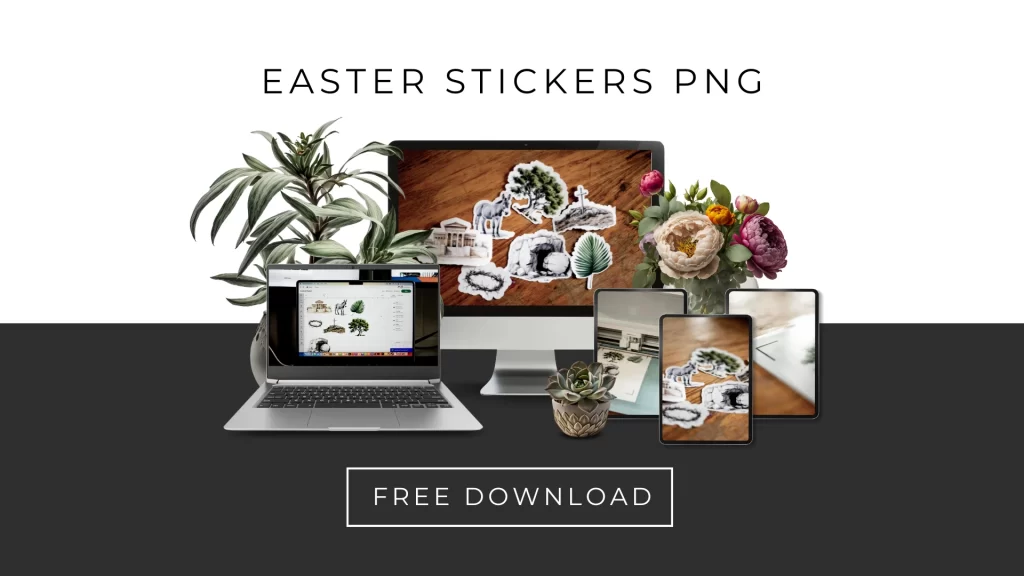
Before you can start, you’ll wanna make sure you’ve got the Easter Stickers design ready and downloaded to your computer. You can get the design for the stickers in the photo above in two ways:
Click here to download the design for free through your email address: https://otherthanamom.myflodesk.com/b3eww1fgox
2. Grab the supplies needed
Although stickers CAN be made from home, you can’t really use regular ‘ol inkjet paper to make them.
After tons of trial and error, this is the only sticker paper that I use when I want to make high quality stickers: Amazon.com
I also really like the look and feel of laminated stickers. They’re especially great for making stickers more waterproof, feel thicker, and look more glossy. This is my favorite self-laminating sheets: Amazon.com
Once you’ve got your sticker paper, load ’em up in your inkjet printer and let’s get started!
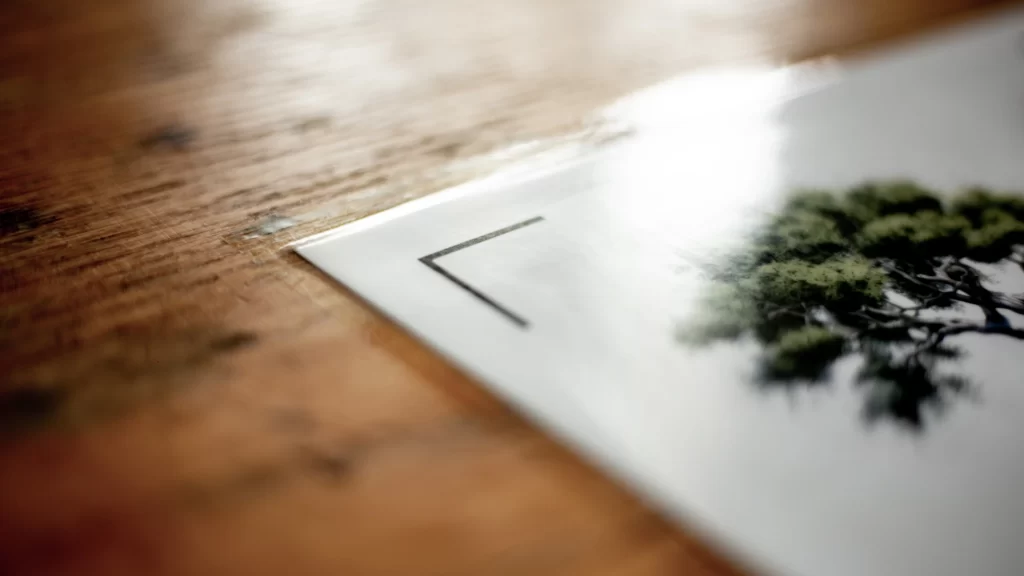
3. Print the sticker design

The easiest way to make stickers is using a cutting machine like Cricut. If you have a Cricut machine, you’ll want to upload the stickers onto the Cricut Design Space software as “Print then Cut” images. This specific clip art pack does come with a thick white border so you have the option to upload the images without the need to “offset”. Make each clip art whatever size you want and click “next”. Then send to the printer with the sticker paper loaded and print away!
If you don’t have a Cricut machine or any other cutter, simply upload the clip art onto a google doc as whatever size you want and print!
4. Laminate (optional)
If you’re wanting that extra glossy look and additional layer of protection, consider laminating your stickers. This added layer also allows stickers to be more water resistant and feel higher quality. (If you didn’t yet, you can grab my favorite self-laminating sheets here: Amazon.com)
After you’ve finished printing your images on sticker paper, take time to apply the self-laminating sheet onto the top of the sticker paper, covering the entire sheet. This is easiest to do by peeling a small portion on the top of the self-laminating sheet and placing over the top of the sticker paper and then pressing down with a book over the laminating sheet and onto the sticker paper while peeling at the same time.
If you’re not wanting to laminate your stickers — as it’s NOT a required step to make stickers — simply skip this step.
5. Cut out the stickers

If you’re using a Cricut or other cutting machine, simply attach your laminated sticker sheet to a board and let your machine cut your stickers.
If you don’t have a cutting machine, grab a pair of scissors and trim out your stickers by hand, a cutting machine is NOT a required tool to make beautiful stickers!
And there you have it! Beautiful Easter stickers that can be made at home for a fraction of the cost!

I see your stickers with out the gray and white checked background but that’s what downloaded for me. How do I get the images without the checked background?
Hey there! The checkered background just means it’s transparent. It won’t show up as you use the design.