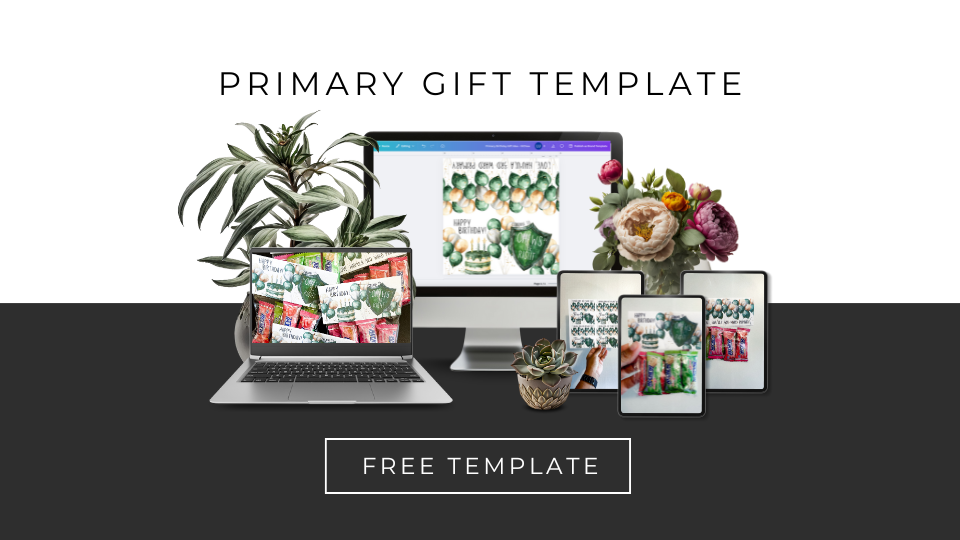
For our Primary this year, we’ll be passing out cute little baggies containing HiChews. This post will go more into what they look like, how to put them together, and how you can create yours for your Primary as well!
1. HiChew Baggies

On the front design, we included a “Happy Birthday” Message, as well as the cute pun, “Continue to ‘Chews’ the right”. We went with green, gold, and silver color scheme in a watercolor art.
The back design includes the ward primary the birthday baggie is from.
If you want to personalize this design, you can do so through Canva for free by clicking here: https://otherthanamom.myflodesk.com/hichew

2. How to put the Primary Birthday Baggie Together

After downloading the Canva Template above and designing your ward’s tag, you can fit four of your designs on an 8.5″x11″ horizontal card stock.
If you’d like a print template, you can use this Canva Template and simply drag and drop your design onto it: https://www.canva.com/design/DAGcUQsksr8/vM2tjp_0GjAXgq9J7q0_Gw/view?utm_content=DAGcUQsksr8&utm_campaign=designshare&utm_medium=link&utm_source=publishsharelink&mode=preview

Once you’ve printed your tags, you’ll want to trim down the sides and cut out each individual square

After they’ve been cut out and folded, they should look like this and measure about 4″x2″. The bags I used for the HiChews and to staple these tags onto can be found on here on Amazon.com
These 4″x6″ cellophane self-adhesive bags can fit about 6 individual HiChews inside. As of right now, the cheapest place we’ve found Hi-Chews being sold is from Costco.

And that’s it! It took me about an hour to make 50 of these cute little baggies, which we’ll be storing in our Primary Closet until each child’s birthday comes up!


